Mini Technicolour Dreamcoats

I wanted to make a couple of little cardigans for my two gorgeous nieces – aged 2 and 5. I went through Ravelry and looked at a myriad of standard knit cardigans for little girls. I saved a few designs, but none jumped out at me enough to go all in and purchase the yarn required. I wanted something unique.
As I was mindlessly scrolling through Facebook (as you do), one of the crochet groups I was following popped up with a post of a little girl wearing a fantastic rainbow coat! I hadn’t considered crochet for a coat, and I loved how bright and childlike the coat was, with texture and patterns everywhere. I knew instantly the girls would love it, as they gravitate towards anything rainbow.
I hunted down the pattern to be Mini Technicolor Dream Coat by Earth Tricks – and purchased it from Ravelry.
My first challenge was that the pattern uses Knit Picks yarn. I don’t have an issue with Knit Picks, but with the pandemic still causing chaos around the globe, I didn’t want to order from the USA. I wanted to use acrylic so it would be soft and not irritate the girls’ skin. The coats use 17 different colours – so I needed a brand with a wide range of shades – and a reasonable price tag.
I wanted to match the colours as close as possible to the original design, so using the same technique I used to match the colours for Peter Rabbit and Friends, I set to work.
I ended up using half Paintbox Yarns Simply Aran and half Stylecraft Special Aran. I had heard the two brands were very similar – I had used Stylecraft before, though not Paintbox. I matched the colours as close as I could – though there were a handful I had pick that were significantly different.
Here is an image of the reference sheet I made to remember which colours to use in the pattern.
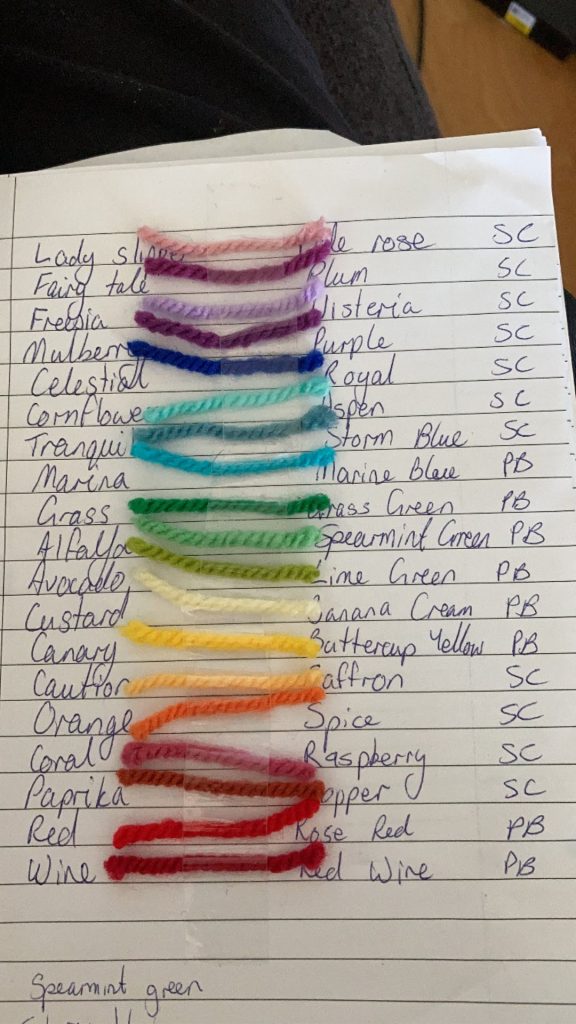
For those that cannot read my writing, here is the reference typed:
SC = stylcraft special aran
PB = Paintbox simply aran
**replace with emporer, purple was too close to plum
| Lady slipper | SC Pale Rose |
| Freesia | SC Wisteria |
| Mulberry | SC Purple** |
| Celestial | SC Royal |
| Cornflower | SC Aspen |
| Cornflower | SC Storm Blue |
| Marina | PB Marine Blue |
| Grass | PB Grass Green |
| Alfalfa | PB Spearmint Green |
| Avocado | PB Lime Green |
| Custard | PB Banana Cream |
| Canary | PB Buttercup Yellow |
| Caution | SC Saffron |
| Orange | SC Spice |
| Coral | SC Raspberry |
| Paprika | SC Copper |
| Red | PB Rose Red |
| Wine | PB Red Wine |
After my order was delivered, I set to work. I started on Saturday, 12th of July, and managed to make good progress within the first weekend.
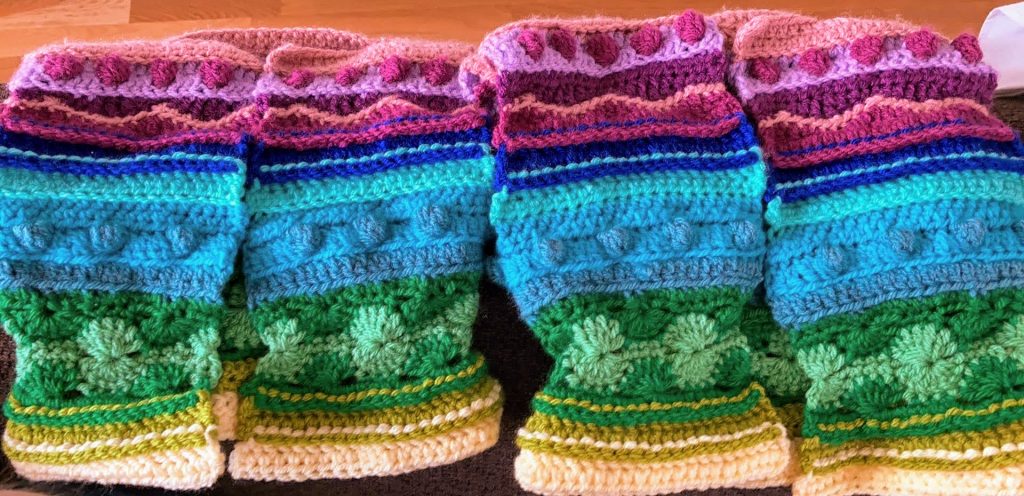
I did however, run into a few challenges (which I didn’t expect).
The first challenge, was that I had never come across a pattern with so many errors in it. I have occasionally come across typos and even more rarely, errors with stitch counts, but it became clear early on, that this pattern had not been tested.
This pattern comes in multiple sizes, and when you purchase it, you will receive 2 PDF’s. The one I was using had three sizes included in it – nothing unusual to begin with.
However, within the first few rows, it was clear that the original pattern draft was made following the smallest size, with the larger sizes added as an afterthought. I initially thought it was just a minor error at the beginning – but it does continue with similar errors throughout the whole pattern. Although I was able to muddle my way through – comparing my work to the pictures, then undoing and redoing sections – it is a little frustrating to have to do this – especially considering I paid for the pattern… and it wasn’t cheap.
The first error I stumbled upon was that it doesn’t account for extra rows when going up a size. This means that with the extra rows added in as advised, it guides you to go through the ‘back loops only’ on the wrong row. Most of the time this happened, I realised half way through and had to redo two rows – there are even a few where I’ve just left the error in, because it was too time consuming to go back.
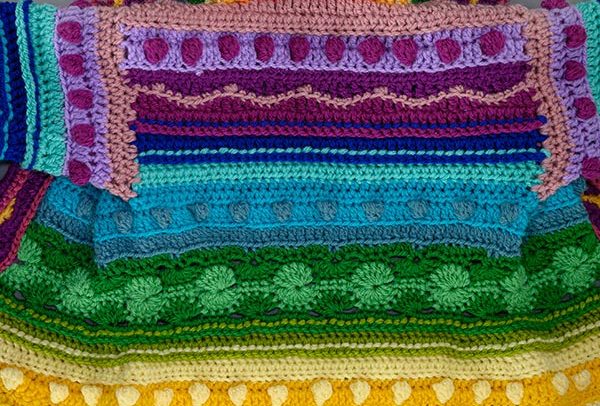
This also happened on the Katherine wheels – which are repeated later with the same omission – where it forgets to tell you to go through the back loops only. The image shown clearly has done this. I had already gone through the both loops, and redid a couple of rows with BLO. I decided I like both loops better, as I found the BLO was not tight enough and was pulling on my stitches too much. The instructions for the Katherine wheels were also a little sketchy, with no real indication of how to do a ‘half wheel’ and maintain stitch count. Again, I fudged my way through – sometimes having to redo the rows a few times to get it right – but this section is not for the faint hearted, easily frustrated, or beginner crocheters. I’d suggest that if you don’t want to faff around, replace the Katherine wheel rows with squiggly or other decorative options.
Even after making my way through the minefield that was the Katherine wheels, my stitches were entirely too tight. Luckily, the green ones are at the waist, and the cinching looks almost intentional. I made a mental note to go up a hook size when these bad boys made a return later on in the pattern.
I work full time during the day, so I worked on the coats in the evenings and tried to add a couple of rows each night. I progressed fairly quickly, now that I had worked through understanding what each row should look like, and to make adjustments as I went.
-
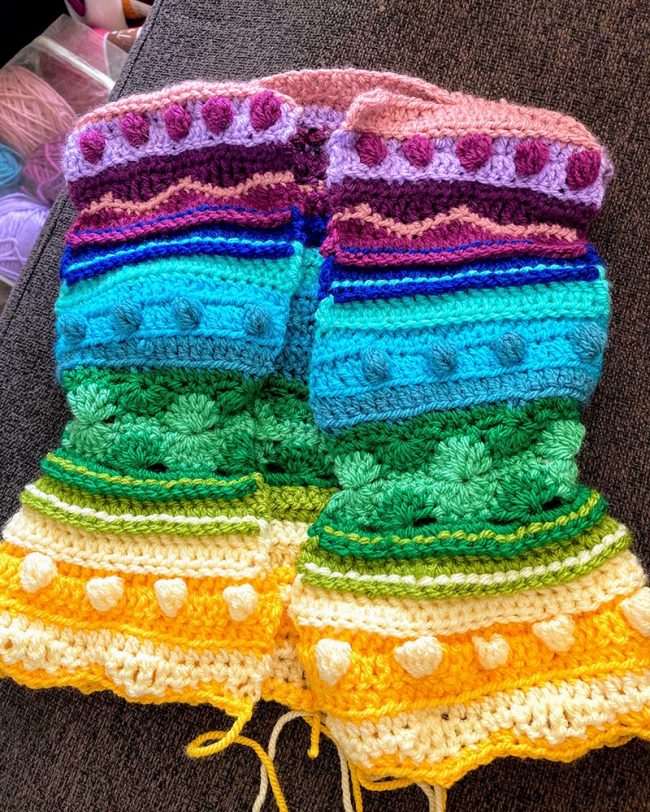
Monday -

Wednesday -

Thursday
By the end of the next weekend, I had completed the sleeves. Which left me to work on the hood throughout the week and adding the final border.
By the following weekend, I had put the hood and the border on the larger coat, but wasn’t happy with the result of the border. If you notice in the image below, the top crochet linning stitch in the lighter purple, doesn’t cover the underneath dark purple border neatly, it was sticking out and looked messy. It was something I didn’t like, so I spent the weekend undoing the border and starting again.
When I did it the first time, I went in between the stitches on the side, and between multiple strands to make sure it was strong, and wouldn’t pull off or stretch. When I redid it, I ensure to only go through one or two strands, and not in between stitches. I used the very edge of the last stitch from the row I was attaching to.You can see the tidy up went as planned, and I made sure to do it the same way on the smaller one.
I got there in the end. There was a lot of trial and error, and a lot of rework that shouldn’t have been necessary with correct and precise instructions. So my warning to you if you decide to complete this project, is to look at the photos on the instructions first to figure out where/if the following rows require BLO or not. There are also a couple of spots with incorrect stitch counts listed – though it is fairly obvious it is a typo. I’m a little annoyed at how much I paid for a pattern that clearly has not been tested, but I also came out (after a lot of perseverance) with a couple of beautiful coats to send to my nieces – so I can’t stay too mad.
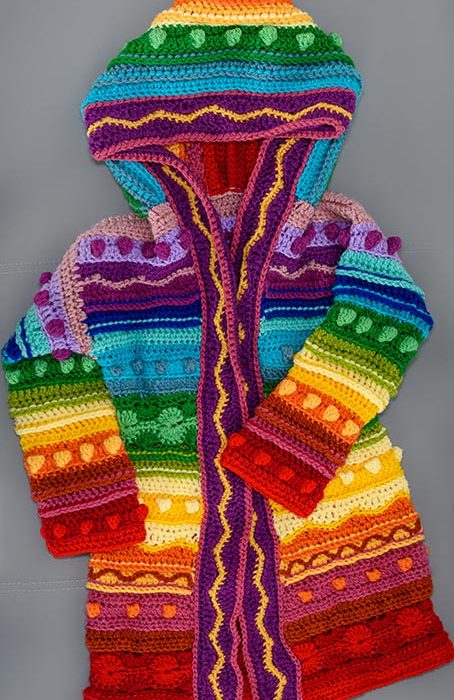
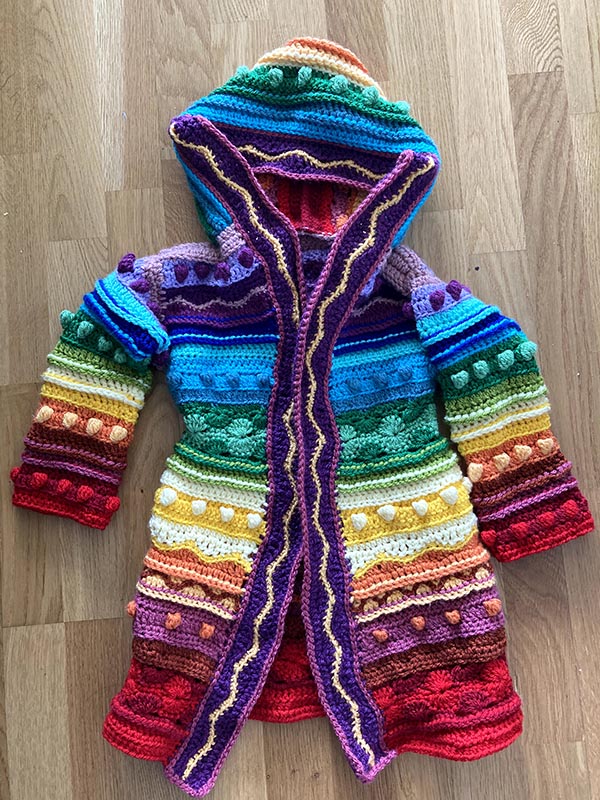
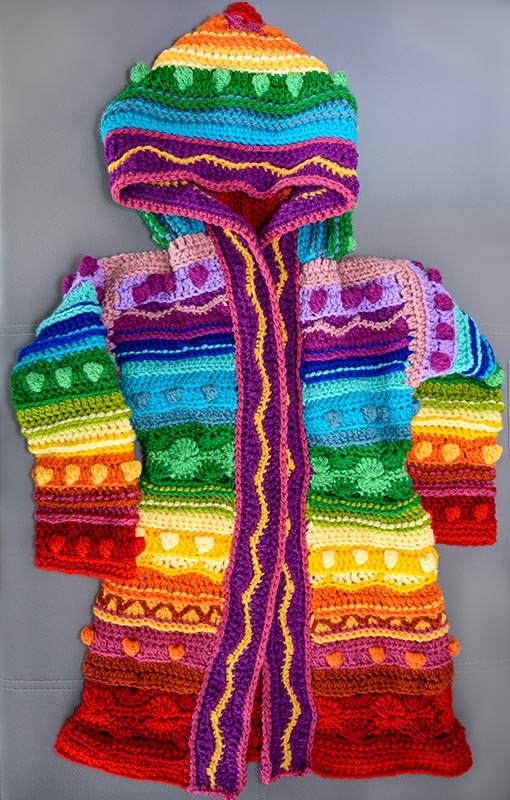
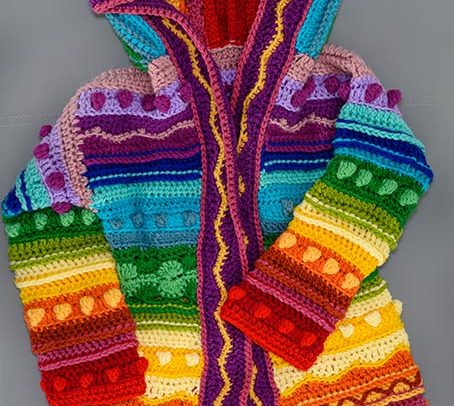
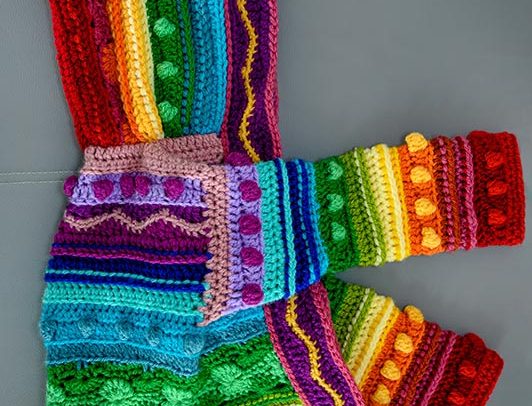
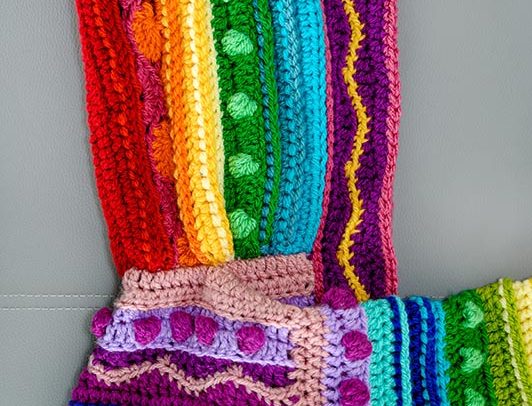
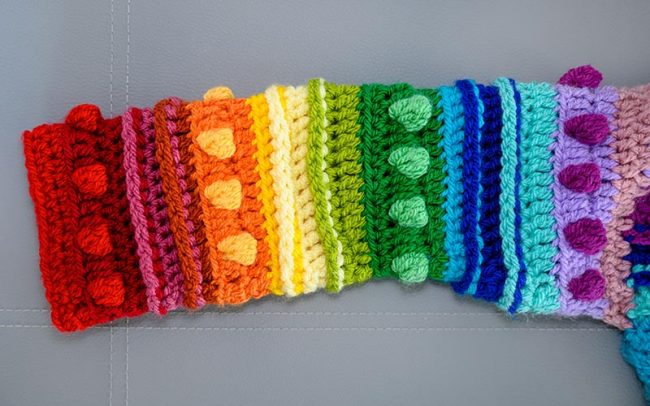
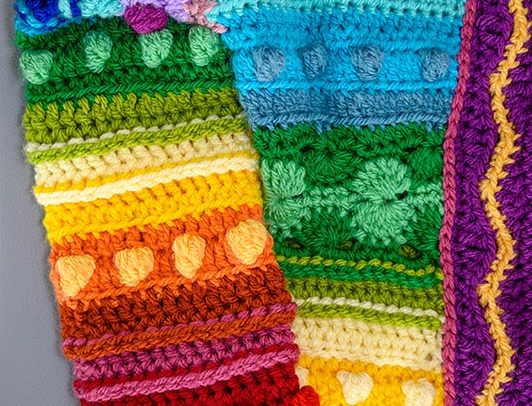
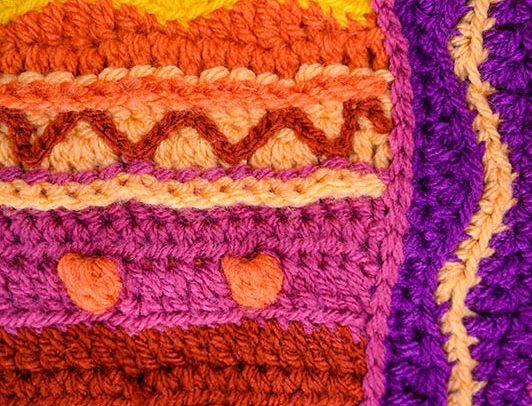
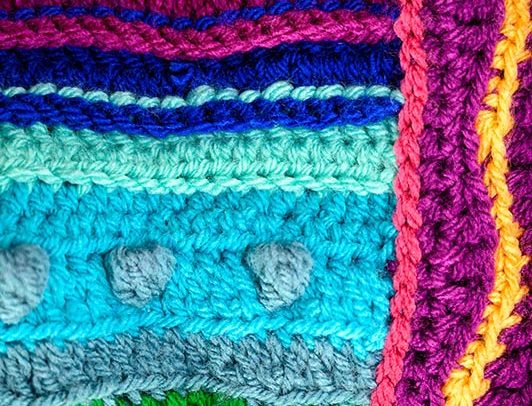
Enjoy the gallery of the finished pieces below, whilst I tick one more project off my list!




Thanks for this post – I was thinking to embark on this journey as well but I don’t trust myself enough with a pattern that requires some extra attention. Maybe I will check back if it ever gets updated. Your finished cardigans are lovely though, I’m sure your hard work is well appreciated!
No problem! The BLO instructions are workable, but the katherine wheels definitely took some work. If it was free, I’d say take the risk and swap those rows for a simmoler pattern. But as it’s not free – I think waiting for an update is sensible.
I haven’t reached out to author yet, but I’m intending to. So hopefully you might see an update.
Just found your blog after 3 days cursing this pattern!! You have eased my mind that I wasn’t going bananas and I consider myself an experienced crocheter. The first thing that is wrong is that the designer states that the beginning chain is counted as the first stitch – it does, but it is not added to the final count. That threw me off for hours……..
After 3 days of frogging whilst working out which row should be back loop and which front I have just decided to wing it like you – the main reason being I ordered the KnitPicks yarn from US and waited a month for delivery to UK.